Quick Start
Go from a fresh install to a running workspace in three steps: add a provider, start a workspace, and open it in your editor. First, install Devsy.
Prerequisites
Devsy connects a workspace to the editor you choose. Some paths run without any local install:
- VS Code Browser (
--ide openvscode) — opens in your browser, no local install. - SSH / Vim / Neovim (
--ide none) — no local IDE; you connect over SSH.
For a local editor, install the one you plan to use:
- VS Code — download VS Code.
- JetBrains (IntelliJ, GoLand, PyCharm, WebStorm, RustRover, RubyMine, CLion) — install a JetBrains IDE and JetBrains Gateway.
Devsy CLI
Fastest path to a running workspace. Make sure the Devsy CLI is installed.
1. Add a provider
A provider decides where workspaces run. Add local Docker:
devsy provider add docker
For other backends, see Add a Devsy Provider.
2. Start a workspace
Point Devsy at a repository and choose how to open it with --ide:
# VS Code in the browser
devsy workspace up github.com/microsoft/vscode-remote-try-node --ide openvscode

# VS Code, locally
devsy workspace up github.com/microsoft/vscode-remote-try-node --ide vscode

# No IDE — connect over SSH
devsy workspace up github.com/microsoft/vscode-remote-try-node --ide none
Devsy builds the dev container and opens your IDE connected to it. If you chose --ide none, connect over SSH:
ssh WORKSPACE_NAME.devsy
Devsy Desktop
Prefer a UI? Make sure Devsy Desktop is installed.
1. Add a provider
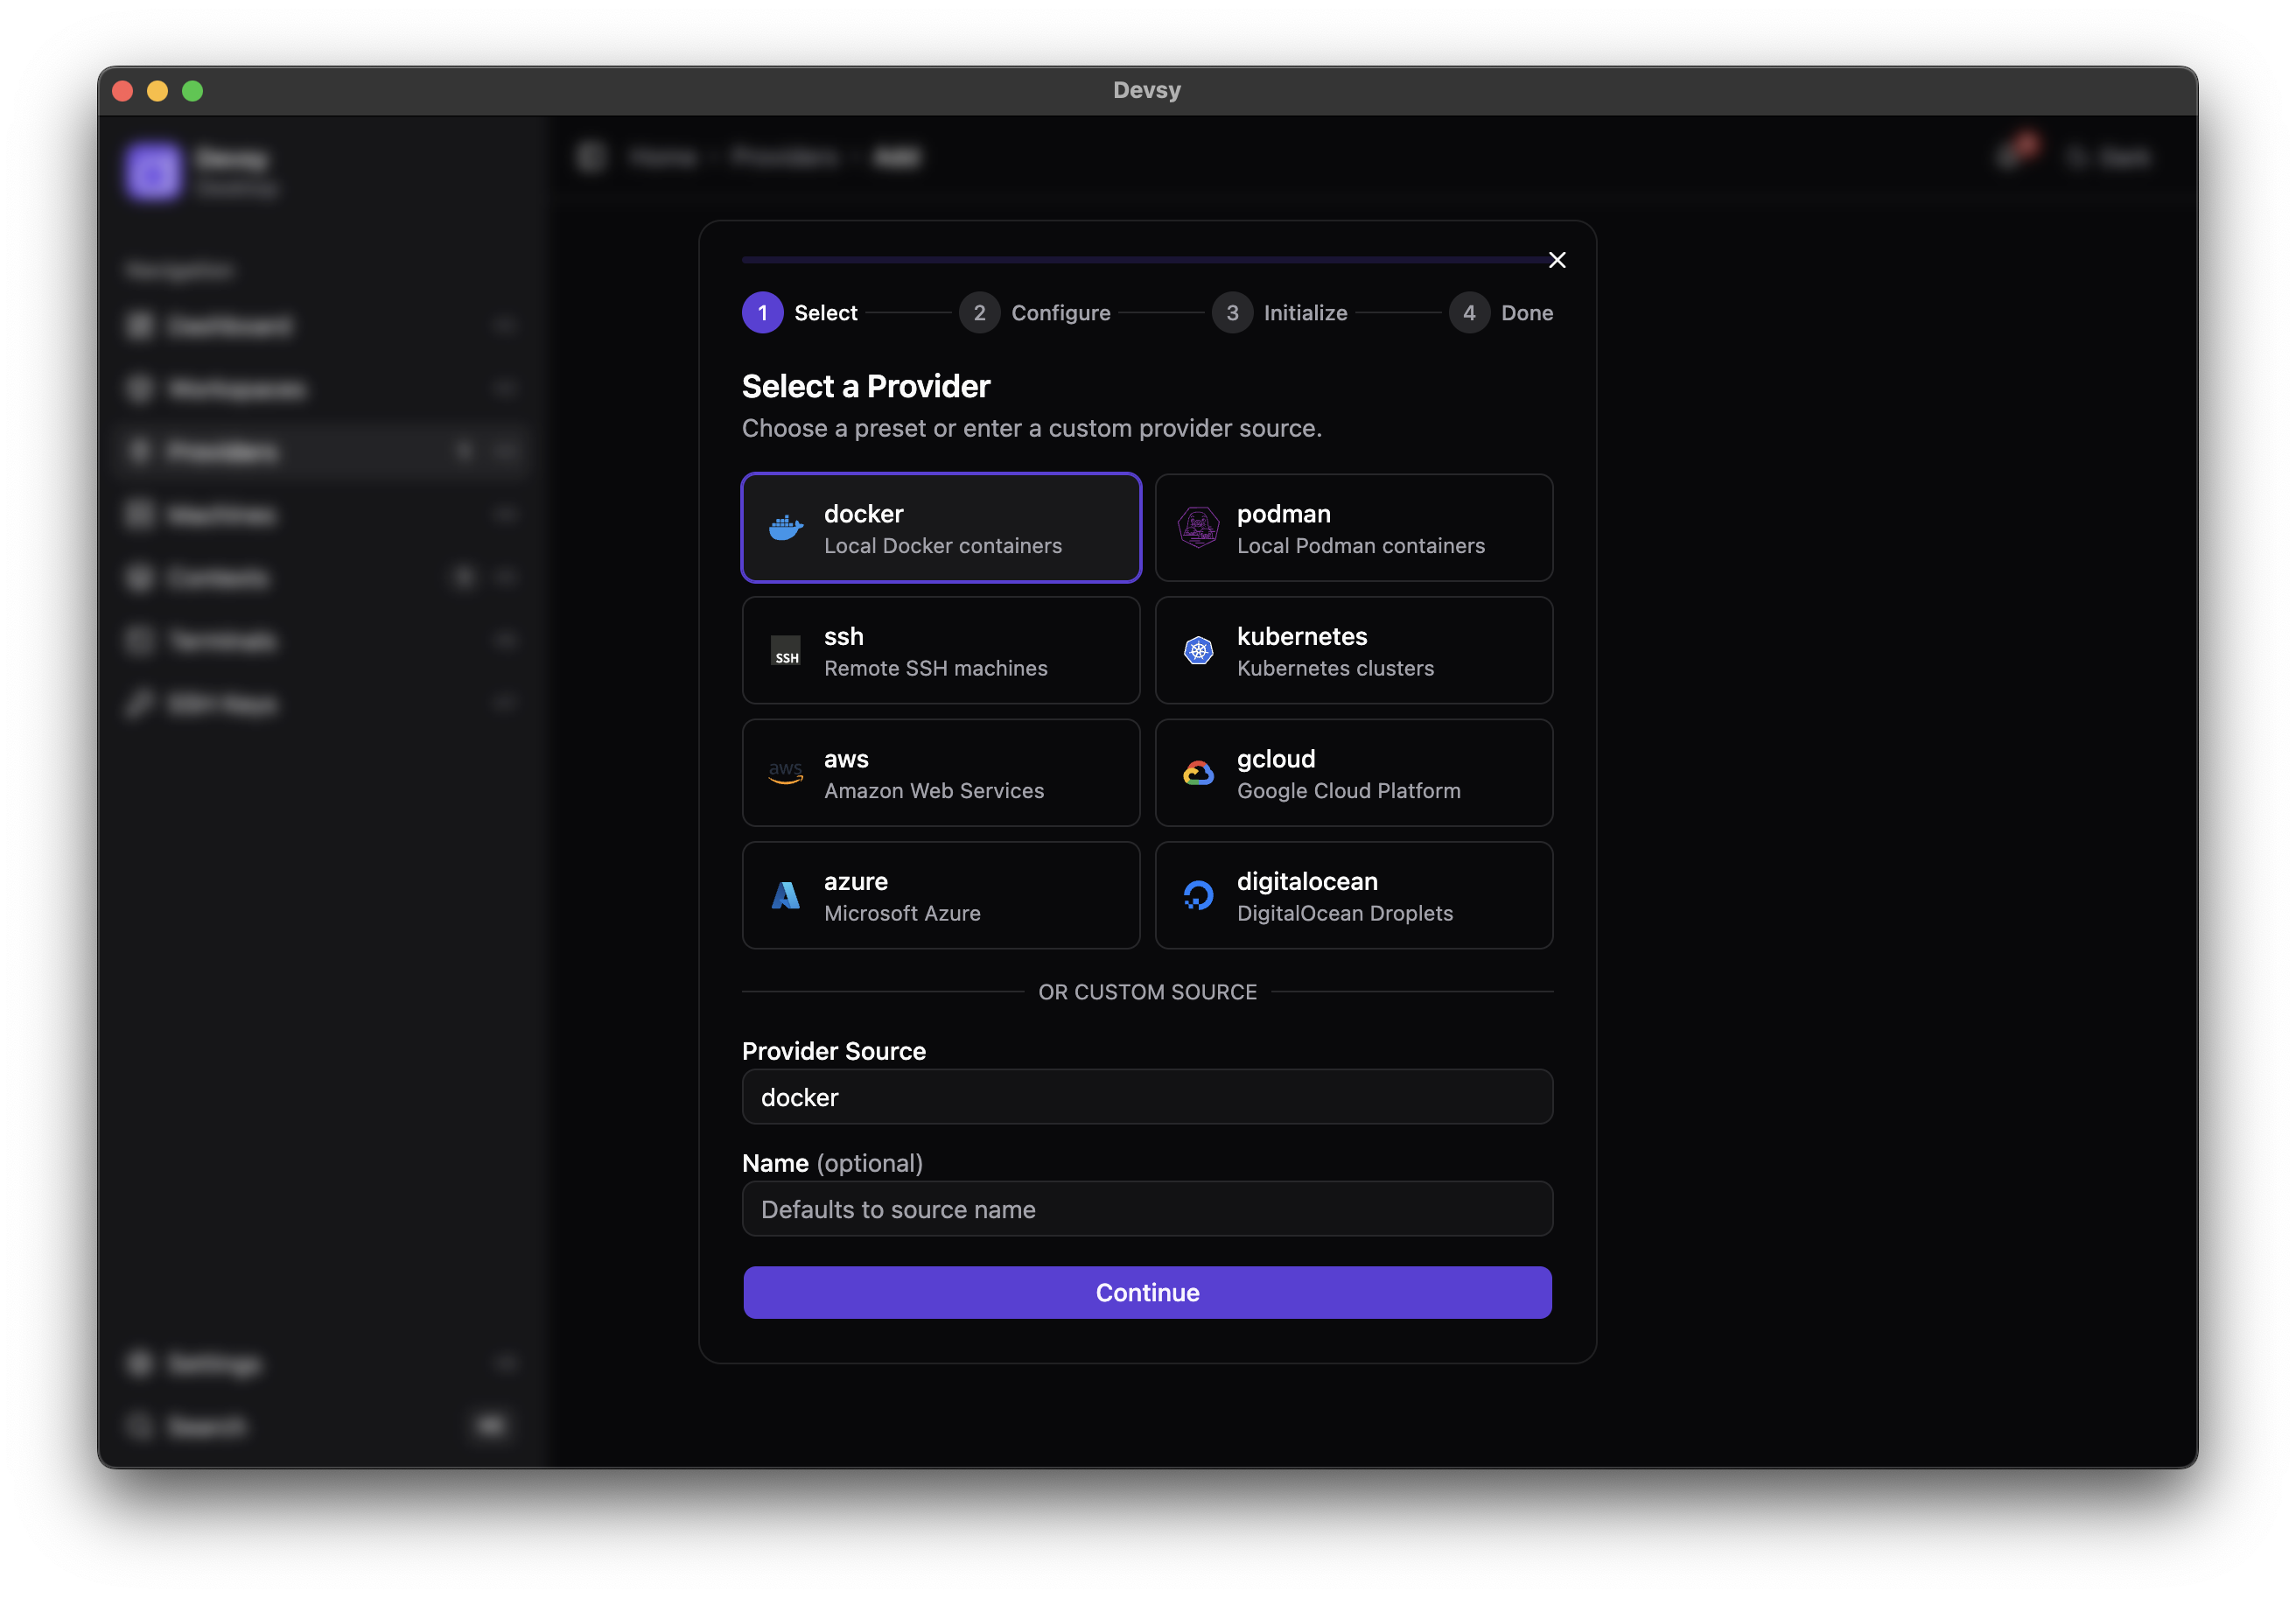
Add a provider via 'Providers' > '+ Add'. Select a provider and select 'Continue'.
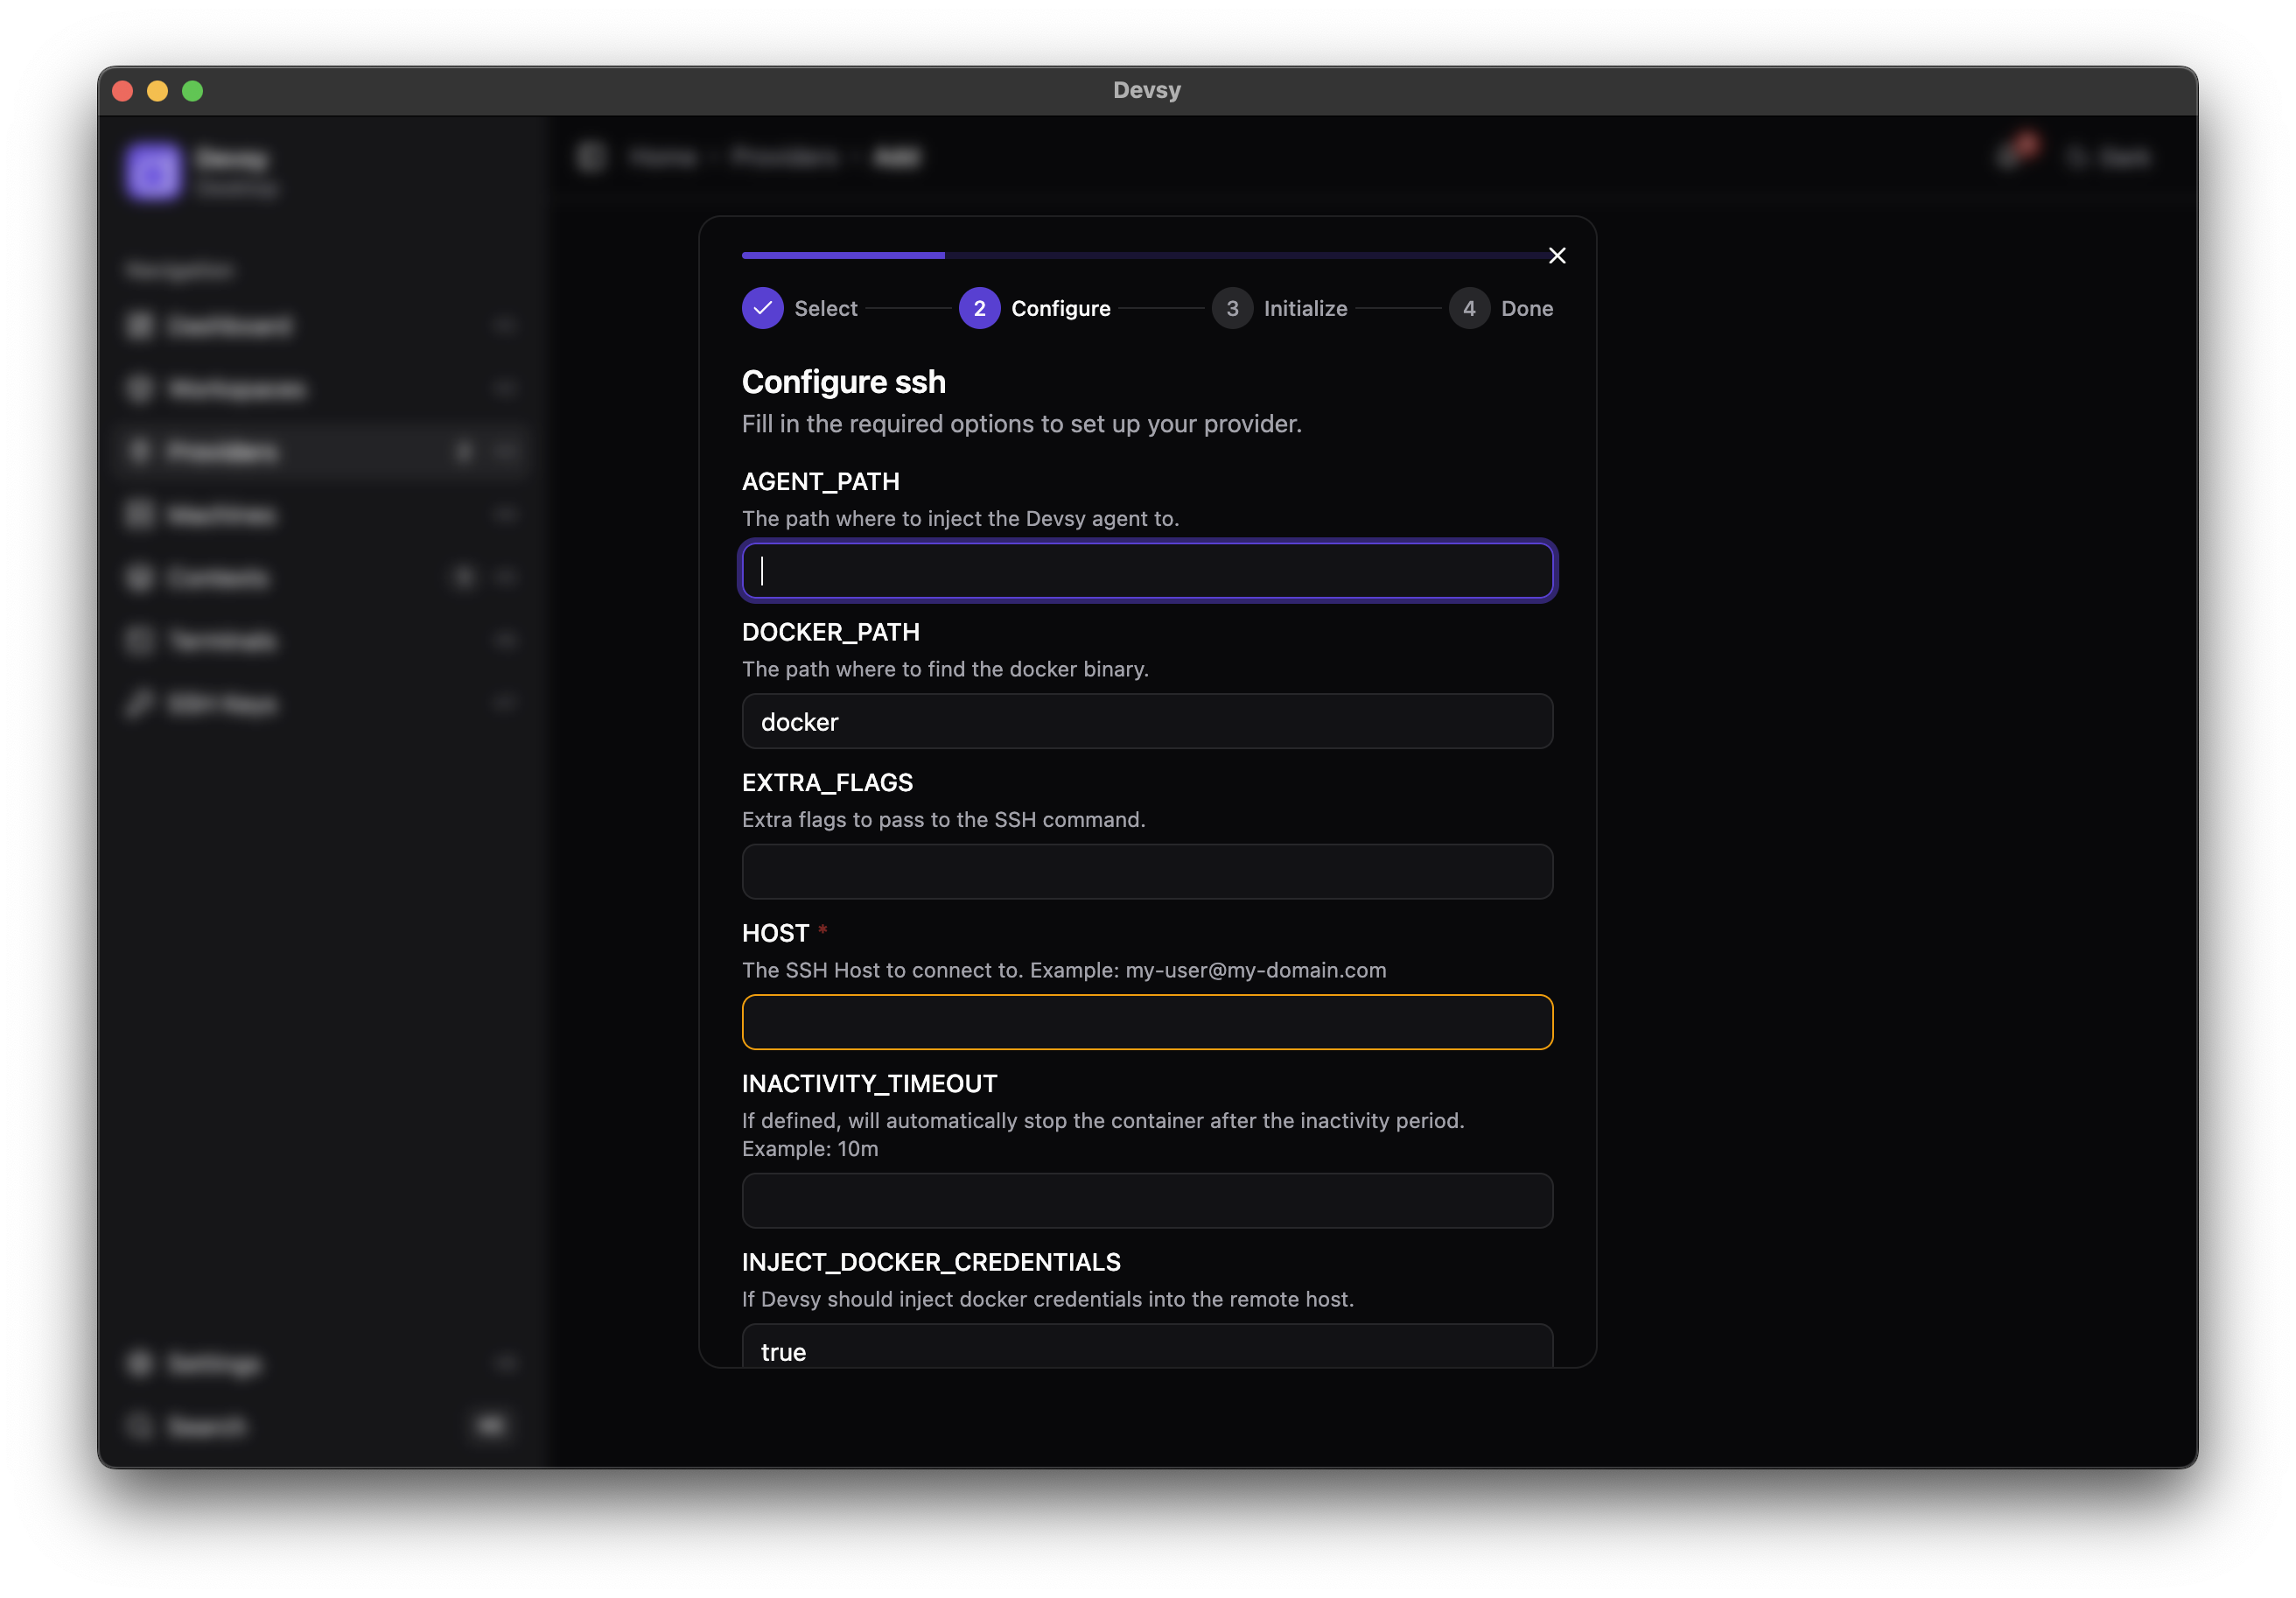
After selecting a provider, fill out the options (if necessary) and click on 'Add Provider'
2. Start a workspace
Go to Workspaces > + Create to open the wizard:
- Provider — pick an initialized provider.
- Source — enter your repository URL or choose a quickstart template.
- IDE — choose how to open the workspace:
- VS Code — opens locally, connected to the dev container.
- VS Code Browser — opens in your browser, connected to the dev container.
- JetBrains — opens through JetBrains Gateway.
- None — connect over SSH (Vim/Neovim or a plain session).
- Review — confirm the configuration.
- Launch — start the workspace.
The wizard streams logs as the workspace starts. When it's ready, your IDE opens connected to the dev container.
If you chose a JetBrains IDE, Gateway opens with a prefilled form. Press Check Connection and Continue to start the IDE inside the workspace.
Connect over SSH
If you chose None, connect once the workspace is running:
ssh WORKSPACE_NAME.devsy
For Vim/Neovim, either edit remote files over Netrw (vim scp://WORKSPACE_NAME.devsy/path) or SSH in and install your config as you would on any new machine.
To use environment variables in devcontainer.json — for example, to control the container image version — see Environment variables in devcontainer.json.